It has been so easy to achieve seamless work as now, we are also able to print necessary sheets from anywhere anytime without even an access point. You can either connect your windows device or print using your iOS as well as Android.
In this article, we have laid down some easy steps on how to connect a canon printer to an iPhone.
1) First of all, you need to check the version of the iOS that you are currently using by accessing "About" in "Settings" on your smartphone.
2) Next, you have to install Canon PRINT Inkjet/SELPHY from the App Store on your iPhone.
3) If Canon PRINT Inkjet/SELPHY is already installed on your smartphone, you can proceed to the next step which is connecting SELPHY with your iPhone.
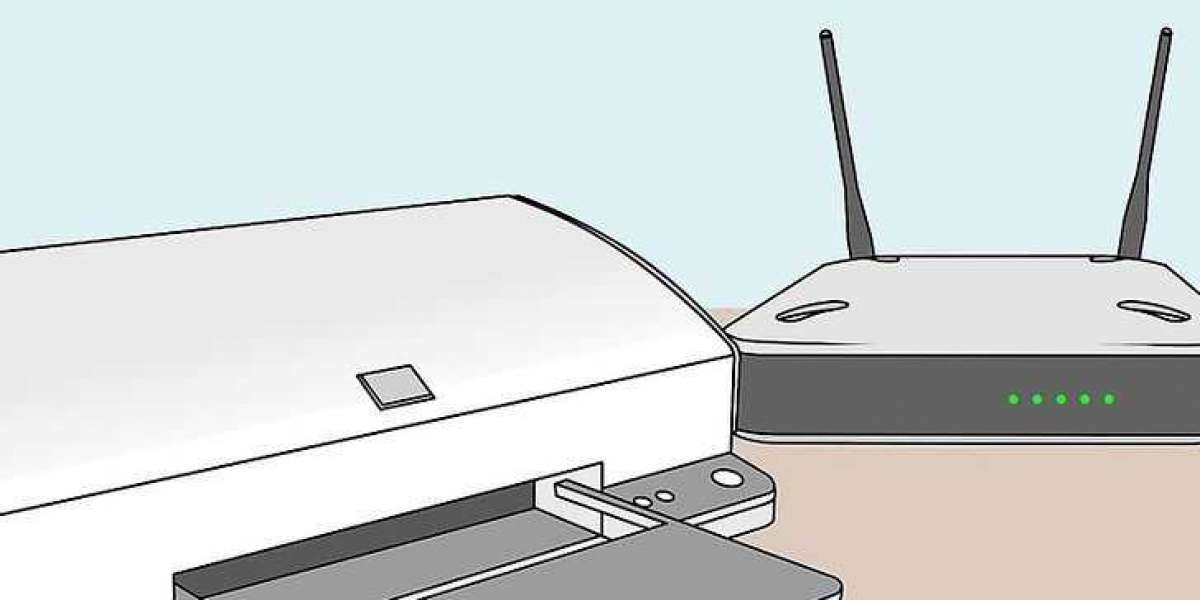
4) Turn on your Wi-Fi and then Prepare SELPHY. Here you have to remove any inserted memory cards or USB flash drives instead insert a loaded paper cassette and an ink cassette in SELPHY.
5) Now, you have to move to the control panel of your printer and go to the [Wi-Fi settings connection settings] Press OK.
6) Check the displayed printer name and press OK again. You can also edit or change the name according to your preferences by pressing on "edit".
7) Choose Direct connection as the connection method on your printer and here you can also change the password by pressing the EDIT button.
8) In your iPhone’s Wi-Fi settings, select the SSID (network name) displayed on the printer and Enter the password displayed on the printer into the password field.
9) Now, tap the "Canon PRINT Inkjet/SELPHY" icon on iPhone to start "Canon PRINT Inkjet/SELPHY".
10) Tap the next items and choose "photo print" here.
11) Select the images you want to print from your photo album and tap print.
12) The following screen will be displayed next on your iOS. Here you have to select the border or borderless option and specify the number of copies to print.
13) Once the printing begins, a busy screen will be displayed. Don't quit the screen as the print will not be processed then.
14) After that, your desired document or picture will be printed.
That was pretty much all that you had to do to connect a Canon printer to an iPhone. That being said if you would like to know how to connect canon priner to Mac, head to the link. or contact “Printer IT Help”.
It is a single-stop destination for all your printer-related issues and queries, starting from how to connect a canon printer to iPhone, desktop, laptop, etc, to fixing your printer showing offline consistently, our experts can resolve it all.