Repairing a Garage Door
Garage doors, whether they roll up in sections or swing up in one piece, are operated by spring tension. A heavy spring or springs power the door, which moves on metal tracks mounted on the garage walls. Repairing a door that doesn't work easily is usually fairly straightforward. Tips for repairing your car:
Step 1: Inside the garage, check the metal tracks. Take a look at the brackets that hold the tracks to the walls. If the brackets are loose, tighten the bolts or screws. Examine the tracks with the garage door closed for dents, crimps, or flat spots. To remove damaged spots, use a rubber mallet or hammer and scrap wood. Tracks that are badly damaged should be replaced.
Step 2: Make sure the tracks are aligned properly with a level. Roll-up doors should have vertical sections that are exactly plumb; horizontal tracks should slant down toward the back of the garage. A garage wall must have both tracks at the same height. If the tracks are not aligned properly, loosen but do not remove the screws or bolts holding the mounting brackets, and tap the tracks gently into place. Make sure the tracks are level before tightening the screws or bolts at the mounting brackets.
Step 3: Use a concentrated household cleaner to remove dirt and hardened grease from the tracks. Wipe the tracks and rollers dry after cleaning the rollers thoroughly.
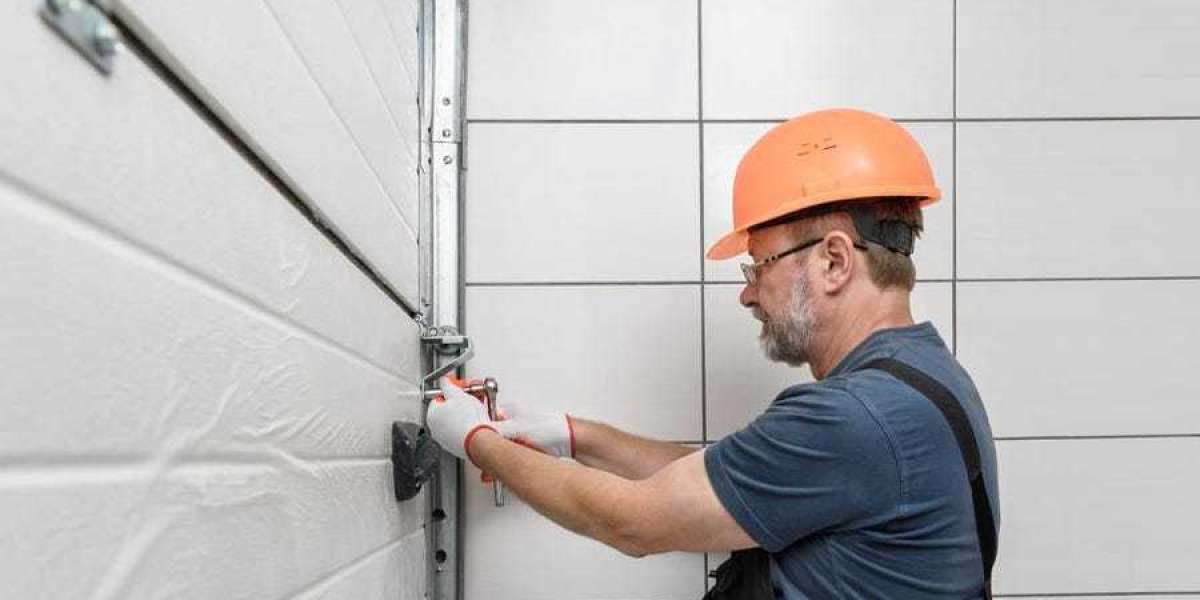
Step 4: Check for loose hardware and tighten it as necessary. In swing-up doors, make sure the screws are tight on the plates where the spring is mounted, and tighten any loose screws. In roll-up doors, check the hinges that connect the sections; tighten any loose screws and replace any damaged hinges. In many cases, hinges can be serviced to correct sagging on one side of the door. With a new screw, use a hollow fiber plug dipped in carpenters' glue if the screw hole is enlarged. Remove the hinge if the wood is cracked at a hinge and fill the cracks and screw holes with wood filler. After the filler dries, replace the hinge. Move the hinge onto solid wood if possible.
Caution: If a roll-up door has only one torsion spring, do not attempt to repair it. There is so much tension in the spring that you could be injured. A professional repair service should be contacted for doors with this type of spring.
There are times when the problem with your garage door can be traced to the opener. We'll show you how to replace a garage door opener in the next section.
Replacing a Garage Door Opener
Garage door openers are one of the most useful gadgets for your home. In addition, the specific instructions included with the unit will help you install it yourself.
In a typical garage door opener, a reversible motor drives a carriage along a rail above the door. On the carriage is a drawbar that moves the door between its opened and closed positions, with travel-limiting devices to stop the door's movement precisely at the fully open and fully closed positions. In order to reverse the direction of drive from opening to closing, a relay or reversing switch is used. A radio receiver is usually included in modern garage door openers that lets your car send a signal to open the door.
Here's how to install a garage door opener:
Step 1: The mechanism should be installed in the center of the door. Measure the width of the garage door to determine the location. Half of this distance is the center. Draw a vertical line down the center of the inside of the door, toward the top. As soon as you attach the drawbar (the mechanism that raises and lowers the door) at this line, the door weight will be evenly distributed.
Step 2: Observe the top point of the door's travel as you raise and lower it. Ensure the rail of the opener is higher than the peak of the door's travel by marking this location. Otherwise, the door could strike the rail as it opens.
Step 3: At your vertical dividing line, above the garage door, there must be a support suitable for attaching the front end of the rail. Install a front mounting board if your garage lacks a structural member there. Over your mark of highest door travel, secure a 2 X 6-inch plank with lag screws across two wall studs. The high-point mark should be transferred to this plank, along with the vertical door center line.
Step 4: Follow the instructions in the kit to attach the rail to the motor unit on the garage floor. The outermost end of the rail should be attached to the front mounting plank about two inches above the intersecting marks you made for your door's high point and center line. This rail bracket is usually attached to the front mounting plank with lag screws. The front mounting plank must be drilled with suitable holes if bolts and nuts are provided. To prevent the bolts from pressing into the wood, use washers under their heads.
Step 5: Raise the motor assembly until the rail is horizontal or parallel to the door track. Raise and lower the garage door by hand while holding the motor assembly in this position so that the rail location does not interfere with the door's movement. As soon as you have determined the correct position and height for the motor assembly, fasten it to the garage joists with the metal brackets that come with the kit. The brackets will need to be mounted to the 2 X 4 if the motor assembly is between two joists or if the garage joists run in the same direction as the rail. A 3/4-inch plywood panel can be mounted overhead if your garage ceiling is finished, fastened to the joists with lag screws. Heavy-duty toggle bolts should be used to attach the mounting hardware to the plywood panel.
Step 6: As soon as the drawbar is attached to the rail carriage, the carriage should be moved to its closed-door position. Drill the holes in the garage door for the drawbar mounting screws. Attach the drawbar to the door after mounting the drawbar and drilling the holes. Tighten the attaching hardware.
Step 7: Make all necessary adjustments to the drive chain or lead screw, paying particular attention to the bolts that restrict the chain's movement.
Step 8: The radio receiver and manual push button should be installed. When you push the button, you should be able to see the garage door opener in action. You can use ordinary bell wire for the push button. Optionally, you can install a key switch.
Step 9: Connect the drive assembly cord to an extension cord, and plug the extension cord into a convenient receptacle. Use the manual push button to start the garage door. During the first test rise, pull the plug from the extension cord several times to ensure there is no binding and that the lifting action is satisfactory. Verify that the remote radio module functions properly, and make any necessary corrections using the adjustment provisions built into the garage door opener system.
.
Plug the assembly line cord into its permanent outlet and disconnect the extension cord. The cord should be connected to the garage overhead light socket.
It is now possible to make basic garage-door repairs, whether they are to the door itself or the opener.