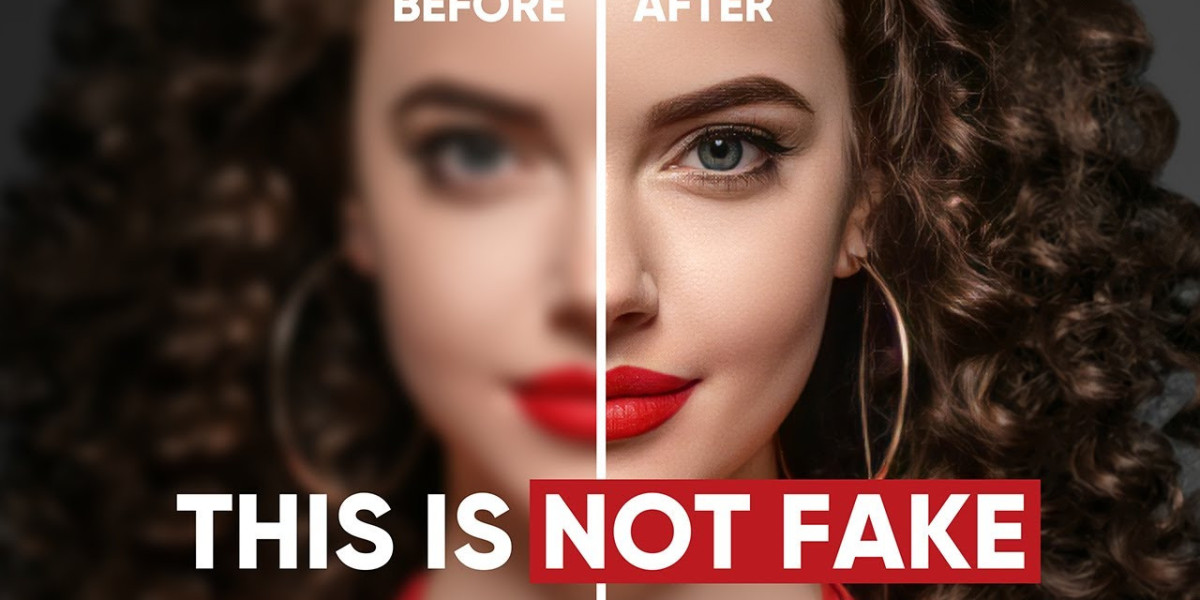
In today's visually driven world, the quality of images holds immense importance. Whether you're a photography enthusiast, a social media influencer, or someone who simply cherishes memories, having clear and sharp images is crucial. Unfortunately, not all photographs turn out perfectly focused. Blurry images can be disappointing, but the good news is that you can unblur them without breaking the bank. In this blog post, we'll guide you through simple steps to unblur images for free, allowing you to salvage cherished moments and enhance your visual content.
Understanding the Blur
Before we dive into the unblurring process, let's understand why images get blurred in the first place. Blurriness can occur due to various factors, such as camera shake, low lighting conditions, or movement of the subject. When the camera moves even slightly while capturing an image, it can result in unwanted blurriness. Luckily, modern technology and software advancements provide us with tools to reverse this blurriness.
Choose the Right Tool
To unblur images, you'll need a suitable tool. Fortunately, there are several free online tools available that can help you in this endeavor. Tools like GIMP, Photopea, and Fotor offer easy-to-use interfaces and powerful features to enhance image quality.
Upload the Image
Once you've selected your tool, upload the blurry image to the platform. Most of these tools have a straightforward process for image uploading. Click on the "Open" or "Upload" button and select the image you want to unblur from your device.
Apply Sharpening Filters
Sharpening filters are your best friends when it comes to unblurring images. These filters work by enhancing the contrast between adjacent pixels, thereby bringing out the finer details and reducing blurriness. Look for options like "Sharpen" or "Unsharp Mask" in your chosen tool's menu. Experiment with the settings until you achieve the desired level of sharpness. Be cautious not to overdo it, as excessive sharpening can lead to a grainy or unnatural appearance.
Adjust Levels and Contrast
Sometimes, a simple adjustment of levels and contrast can significantly improve image clarity. Play around with these settings to enhance the image's overall quality. Increasing the contrast can make edges appear sharper and more defined, while adjusting levels can help balance out the lighting and color distribution.
Save Your Enhanced Image
Once you're satisfied with the changes you've made, save the enhanced image to your device. It's a good practice to save the enhanced image under a different name or in a different location to preserve the original image, in case you want to revisit it later.
Conclusion
In a world where visual content reigns supreme, having the ability to unblur image free is a valuable skill. Whether you're looking to salvage a cherished photograph or enhance the quality of your online content, these simple steps can make a world of difference. By selecting the right tools, applying sharpening filters, adjusting levels and contrast, and practicing moderation, you can transform blurry images into clear and captivating visuals.
Remember, practice makes perfect. As you become more familiar with the unblurring process, you'll develop an intuition for the optimal settings to apply in different scenarios. So, go ahead and experiment with these steps to unlock the true potential of your images, ensuring that every moment captured is as clear and vivid as the memory itself.


