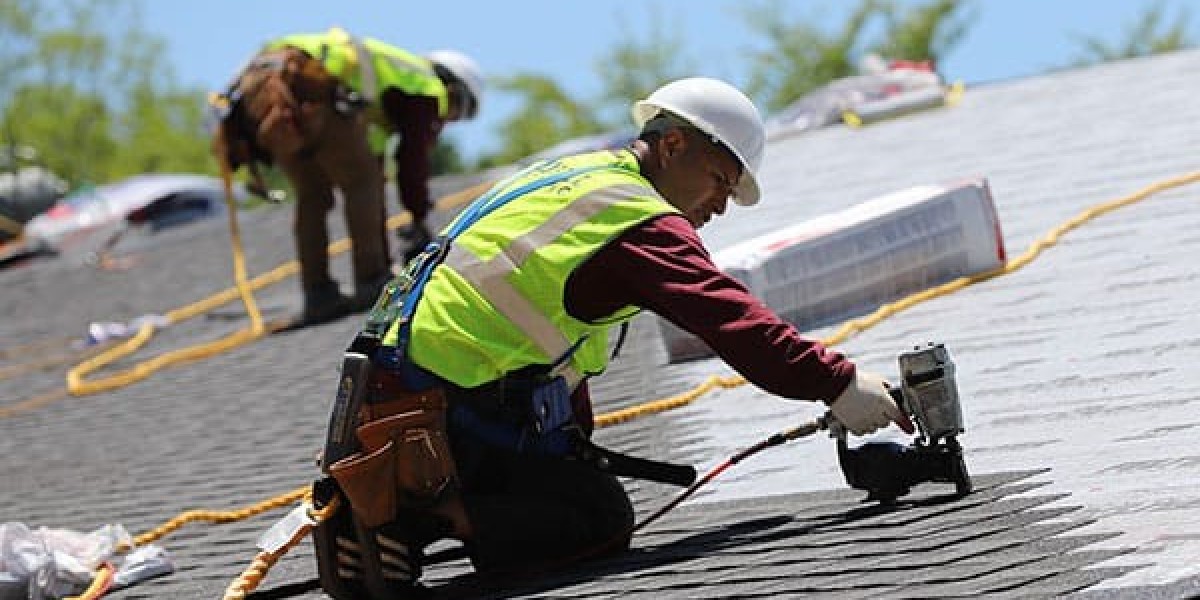
Installing an EPDM roof in Denver requires careful planning and execution to ensure long-lasting protection for your property. In this comprehensive guide, we will walk you through the step-by-step process of installing an EPDM roof in Denver, considering the unique climate conditions of the region. From understanding the benefits of EPDM roofing to gathering the necessary materials and tools, preparing the roof surface, and executing proper installation techniques, this guide will equip you with the knowledge and skills needed to successfully complete your Denver EPDM roof installation project.
Introduction to EPDM Roofing
What is EPDM Roofing?
EPDM roofing is like the superhero of the roofing world - durable, flexible, and resistant to all sorts of weather villains. It's a synthetic rubber roofing membrane that stands for Ethylene Propylene Diene Monomer (say that three times fast). Basically, it's the tough, waterproof shield your roof needs to stay safe and dry.
Benefits of EPDM Roofing
EPDM roofing is like that reliable friend who always has your back. It's cost-effective, easy to install, and can last for decades without breaking a sweat (or a seam). Plus, it's resistant to UV rays, hail, and extreme temperatures, making it ideal for Denver's unpredictable weather tantrums.
Planning for Denver Climate Conditions
Understanding Denver's Climate Factors
Denver's weather is a rollercoaster ride - from scorching summers to icy winters, with a sprinkle of hailstorms in between. When planning for EPDM installation, consider Denver's extreme temperature changes, high altitude impact, and potential for heavy snow loads.
Selecting the Right EPDM Thickness
Choosing the right Denver EPDM Roof Installation thickness is like picking the perfect jacket for Denver's weather. Thicker EPDM membranes offer better protection against hail and punctures, while thinner ones are more budget-friendly. Consider Denver's climate demands when selecting the thickness that suits your roof.
Gathering Materials and Tools
Essential Materials for EPDM Installation
To conquer the EPDM installation quest, arm yourself with the essentials: EPDM membrane rolls, adhesive, seam tape, termination bars, and flashings. These materials will be your trusty sidekicks in creating a leak-proof fortress for your roof.
Tools Needed for the Installation
Just like a knight needs a sword, you'll need tools like a utility knife, scissors, paint roller, scrub brush, and a seam roller to tackle the EPDM installation dragon. With these tools in hand, you'll be ready to transform your roof into a weather-resistant stronghold.
Preparing the Roof Surface
Cleaning and Inspecting the Roof
Before donning your DIY roofing cape, make sure to clean and inspect the roof surface for any lurking enemies like dirt, debris, or damaged areas. A clean and smooth surface will ensure a seamless EPDM installation and prevent any unwanted surprises down the road.
Repairing Any Damaged Areas
Just like fixing a broken shield before battle, repair any damaged areas on the roof to ensure a sturdy foundation for the EPDM installation. Patch up cracks, holes, or loose seams with appropriate materials to fortify your roof against future threats.**Chapter One: Installing the EPDM Roof Membrane
Measuring and Cutting the Membrane
Before you get this EPDM show on the road, whip out your measuring tape like a DIY pro. Take accurate measurements of your roof to ensure a snug fit for your EPDM membrane. Then, channel your inner tailor and cut the membrane to size with precision. Remember, measure twice, cut once – unless you've got a stash of extra membrane lying around.
Adhering the Membrane to the Roof
It's time to stick it to the man – or in this case, your roof. Apply a suitable adhesive to the roof surface and carefully lay down the EPDM membrane. Smooth out any wrinkles like you're making a bed – except, instead of a peaceful night's sleep, you're ensuring a waterproof seal that'll keep your house dry as a bone.
Chapter Two: Seaming and Flashing Techniques
Seaming Methods for EPDM Roofing
Forget sewing – we're not crafting a quilt here. Use manufacturer-recommended seam tapes or adhesives to seal the joints between EPDM strips. Don't skimp on this step unless you fancy a rooftop swimming pool during the next rainstorm.
Proper Flashing Installation
Think of flashing as the superhero cape of your EPDM roof. Install it around edges, corners, and penetrations like chimneys or skylights to protect vulnerable spots from water infiltration. Be a flashing wizard, not a flashing disaster waiting to happen
Chapter Three: Finishing Touches and Inspection
Trimming Excess Material
Time to tidy up your EPDM masterpiece. Trim any excess membrane with a sharp tool, making sure to leave a neat and clean edge. You want your roof to look sharp, not like a poorly wrapped gift – no one wants a leaky surprise inside.
Conducting a Final Inspection
Don your inspector's hat – it's time for a thorough roof check. Look for any loose edges, bubbles, or areas that need extra adhesive. Don't stop until you're satisfied that your EPDM roof is ready to tackle whatever Mother Nature throws its way.
Chapter Four: Maintenance Tips for Longevity
Regular Inspections and Cleaning
Give your EPDM roof some love by inspecting it regularly for damage or debris. Clear off any leaves, branches, or other unwanted guests to prevent moisture buildup or pesky leaks. Show that roof you care – it's a relationship, not a one-time fling.
Addressing Common EPDM Roofing Issues
Leaks, punctures, or blistering – oh my! Stay on top of common Local Roofing Company problems by addressing them promptly. Whether it's patching up a hole or reinforcing a weak spot, don't let small issues snowball into major headaches. Remember, a stitch in time saves nine – or in this case, a leak-free roof for years to come.By following this detailed step-by-step guide for Denver EPDM roof installation and implementing maintenance practices for longevity, you can enjoy a durable and weather-resistant roofing solution that stands the test of time. Remember, proper installation and regular upkeep are key to ensuring the effectiveness and longevity of your EPDM roof in Denver. With the knowledge and techniques gained from this guide, you can confidently tackle your EPDM roofing project and protect your property for years to come.
Frequently Asked Questions (FAQ)
1. Can I install an EPDM roof in Denver myself, or should I hire a professional?
2. How long can I expect an EPDM roof to last in Denver's climate?
3. Do I need to make any special considerations for Denver's weather conditions when installing an EPDM roof?
4. What are the common maintenance tasks required to keep an EPDM roof in good condition in Denver?