Jewelry photography might seem like a glittering dream—but capturing that sparkle takes more than just a camera. From the perfect background to expert lighting, this guide will teach you how to showcase every intricate detail of your jewelry pieces, leaving your audience dazzled. Whether you’re an aspiring photographer, a jewelry designer, or an e-commerce seller, this blog is your step-by-step roadmap to mastering the art of jewelry photography.
Why Jewelry Photography Is Essential
When it comes to jewelry, buyers don’t just want to imagine beauty—they need to see it. Jewelry photography is essential for drawing attention to your products and persuading customers to buy. High-quality images highlight the craftsmanship, materials, and uniqueness of a piece, making your designs irresistible. Whether you’re an independent jeweler selling on Etsy or a brand promoting luxury items, professional-looking photos can make or break your sales.
With online competition steep, investing time into refining this skill is a must for anyone looking to stand out in an overcrowded digital marketplace.
Equipment You Need for Jewelry Photography
Before you start snapping, you need the right tools. Here’s what every jewelry photography setup should include:
- A Reliable Camera
While a DSLR or mirrorless camera is ideal, modern smartphones with decent camera capabilities can work, too.
- A Macro Lens
Jewelry is all about the details. A macro lens helps you capture those intricate textures and small gems crystal-clear.
- Tripod
Jewelry photography demands precision. A sturdy tripod eliminates blur caused by shaky hands and ensures consistency.
- Lighting Equipment
Natural light works fine, but for foolproof consistency, invest in LED lights, softboxes, or light tents.
- Background Material
Options range from white paper to acrylic boards. Keep your background clean and clutter-free to make the jewelry pop.
- High-Quality Jewelry Retouching Services
For a refined touch, professional editing services like First Clipping Path can enhance your jewelry photos with techniques like background removal, shadow creation, and color correction.
Setting Up the Perfect Background
The background you choose can make or break the photo. A perfect background helps your jewelry stand out and directs all attention to its design.
Types of Backgrounds
- Plain White Backgrounds
Simple and effective—they work for nearly all types of jewelry. White reflects light and provides a clean, professional appearance.
- Velvet or Fabric Backgrounds
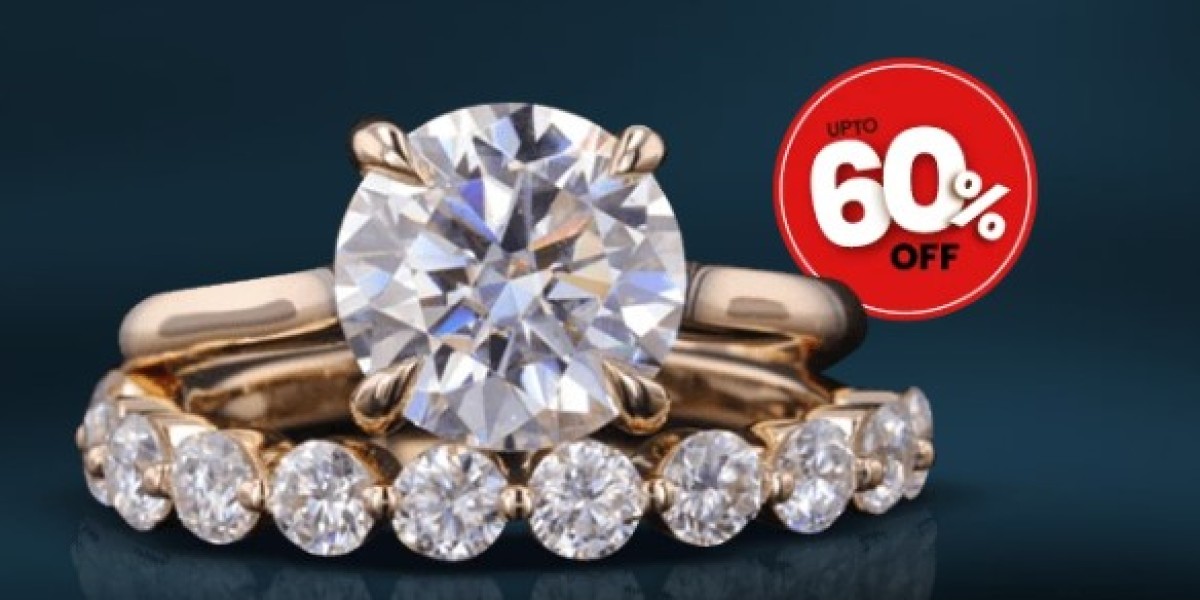
Dark velvet in navy or black adds a luxurious feel, especially for diamond or gold pieces.
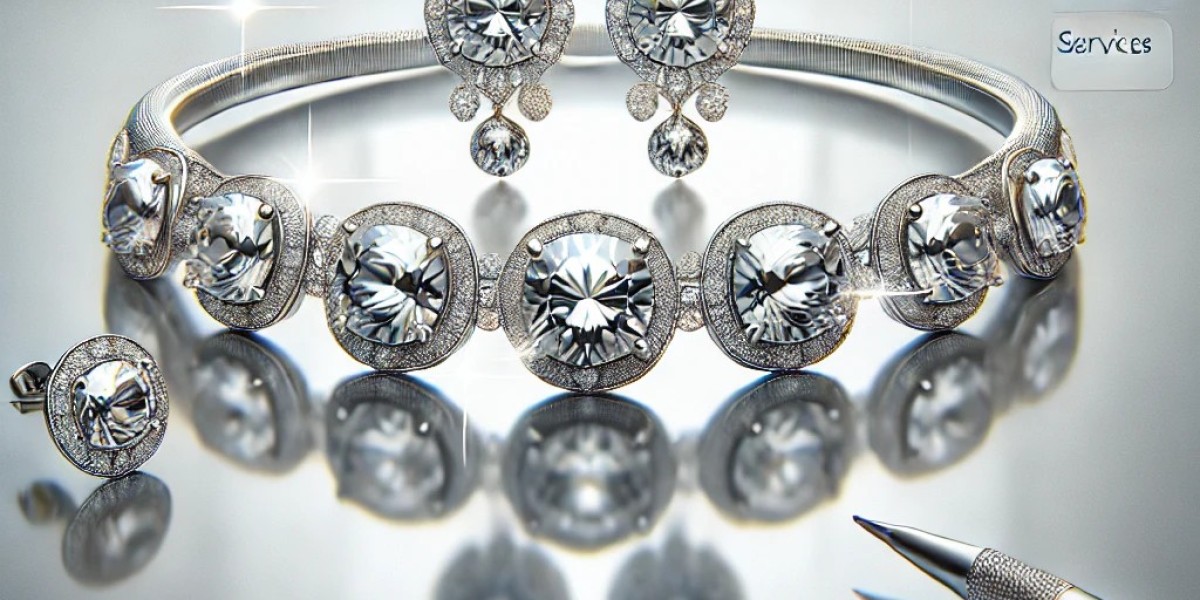
- Mirror Backgrounds
A reflective surface can help create a trendy, artsy vibe while showcasing jewelry’s shine.
- Textured Backgrounds
Materials like marble or wood can evoke premium quality but mustn't overpower the jewelry itself.
Best Practices for Choosing Backgrounds
- Keep the focus on the jewelry—avoid overly vibrant or busy patterns.
- Use complementary tones. For example, light metals pop against darker tones, while gemstones look stunning on neutral surfaces.
DIY Background Ideas
Want to save costs? Create your own background!
- Use a piece of white paper for a budget-friendly DIY solution.
- A smooth tile or sheet of acrylic can mimic a high-end professional look for reflective jewelry images.
Understanding Lighting for Jewelry Photography
Lighting is the backbone of great jewelry photos. It brings gems to life and enhances textures.
Natural vs. Artificial Lighting
- Natural Lighting
Ideal for softer, more organic images, like pearls or beads. Shoot near a large window but avoid harsh sunlight to minimize reflections.
- Artificial Lighting
Perfect for consistency. Use softboxes or LED lights for a diffused, even glow that eliminates harsh shadows.
Lighting Setup
Position lights on either side of the jewelry to prevent glare. For reflective items like diamonds, experiment with indirect lighting to avoid unwanted reflections. Adjust the light angle and intensity to make the piece sparkle.
Choosing the Right Camera Settings
The right settings ensure your photos are sharp, bright, and detailed.
Aperture
Set a narrow aperture (f/11 or higher) for greater depth of field. This ensures the entire piece is in sharp focus.
ISO Settings
A low ISO (100–200) prevents graininess and ensures a clean, polished result.
Shutter Speed
Use a slow shutter speed, typically 1/50 or slower, when working with a tripod. This compensates for the low ISO and narrow aperture.
White Balance
Ensure accurate colors by setting the white balance to match your light source. Most DSLRs and smartphones have preset options you can tweak.
Camera Angles and Composition Tips
Photograph jewelry from multiple angles to capture its full design.
- Highlight details like engravings by shooting up close.
- Showcase textures with slightly angled, side-on shots.
- Use the rule of thirds to frame your piece, creating a balanced composition.
Advanced Photography Techniques
- Focus Stacking: Improve clarity by combining photos taken with different focus points in post-production.
- Light Modifiers: Use diffusers or reflectors to control the intensity of light on shiny surfaces.
- Jewelry Image Enhancement: Refine your images through professional photo retouching for a flawless finish—a service offered by First Clipping Path.
Jewelry Photography Tips and Tricks
- Always clean your jewelry before photographing to avoid dust and smudges.
- Secure small pieces with putty or tape to keep them in place.
- Use props sparingly—a soft white glove or jewelry stand can enhance presentation without being distracting.
Common Mistakes to Avoid in Jewelry Photography
- Overexposure or underexposure due to improper lighting setups.
- Forgetting to use your tripod, which creates blurry results.
- Overcrowding the frame with props or background elements.
Jewelry Photography with a Mobile Camera
Don’t have fancy equipment? No problem! Modern smartphones with features like portrait mode and manual settings work wonders for jewelry photography. For advanced post-production, consider leveraging editing services like high-end jewelry photo retouching to give them a professional touch.
Final Sparkle: Snap Like a Pro!
Jewelry photography is both an art and a science. With the right tools, techniques, and post-processing help, you can create images that truly shine. If you’re ready to elevate your jewelry photos, take the next step by exploring professional jewelry retouching services to add the perfect finishing touch.
Turn every click into a masterpiece and dazzle your audience—after all, every gem deserves its spotlight.


