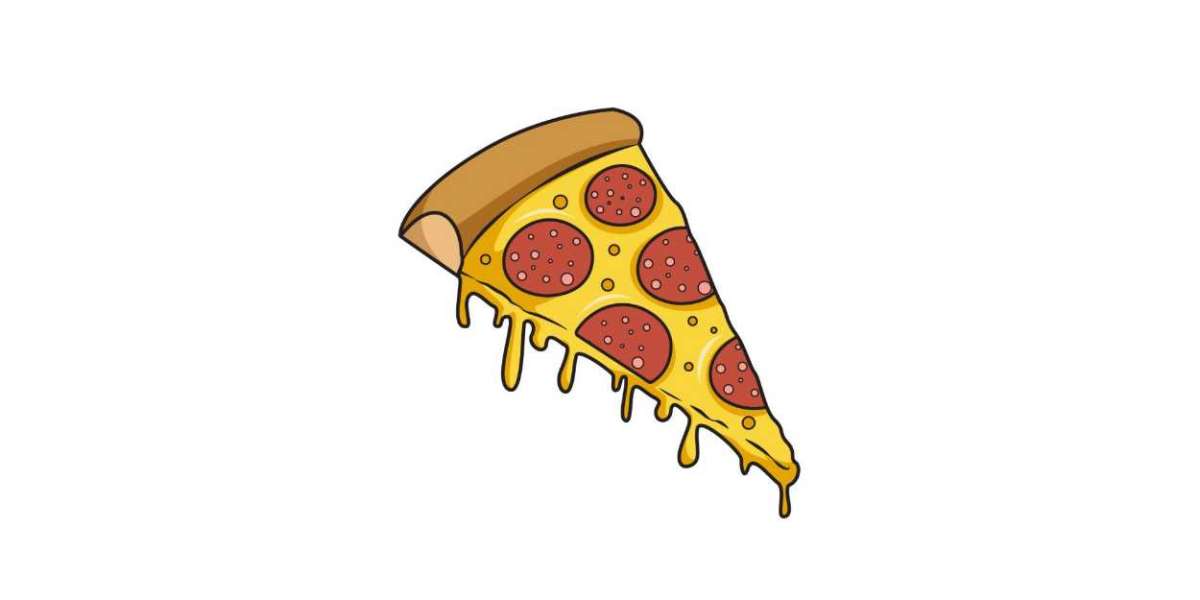
How to Draw A Pizza. Whether it's breakfast, lunch or dinner, it's always a good time to eat pizza. Even more so when the pizza has loads of toppings paired with melted cheese to make your mouth water!
Also, check our elsa coloring page.
With its perfectly baked base and plenty of toppings in different colors, the pizza looks as tasty as it is delicious. This is also why pizza is one of the most common foods to resort to.
Luckily, this step-by-step tutorial on how to draw a pizza can help you draw one effortlessly. This guide consists of detailed but brief instructions, all accompanied by intricate visual illustrations.
With this comprehensive tutorial, you might be surprised how easy it is to draw a pizza!
How to Draw A Pizza
Step 1
Starting at the top left of the paper, draw two parallel curved lines that will form the pizza crust.
Then draw two more curved lines on either end of the crust. Remember to add a diagonal line at the bottom of the curved line for a three-dimensional effect.
Step 2
To complete the shape of the pizza, draw a sideways triangle that connects to the bottom. The top of the triangle should be a slightly jagged diagonal line, while the bottom should have a teardrop effect.
Drawing a drip effect is simple and easy! Draw multiple drops next to each other, dripping from the same surface layer. Make sure to draw the dripping drops of different sizes, as shown in the image above, to get the perfect dripping effect!
Step 3
Draw detached lines just above the drip effect to enlarge the outline of the pizza. Refrain from pressing too hard with the pencil when drawing these lines to keep them light and not hard.
Don't worry if the lines aren't straight or look slightly jagged. Uneven light strokes are preferred to make your pizza look realistic.
Step 4
A slice of pizza would only be complete with a pepperoni topping, so that's what we're going to draw in this step.
Draw a circular shape that will lie on top of the pizza, forming the shape of a single pepper. Then draw smaller circles inside to create a realistic-looking chili!
Step 5
Let's add more pepperoni to your pizza to make it more delicious!
Draw a semi-circle shape on the edge of the pizza slice.
Next, draw small circles inside the peppers, as shown in the picture.
Step 6
More than two pepperonis on a slice of pizza are needed, so let's go ahead and add our third pepperoni.
Remember, draw a complete circle when adding the peppers in enough space. On the other hand, if you add one near the edge, it should be a semi-circle.
Also, make sure there are spaces between the peppers, so your spices appear evenly distributed.
Step 7
Repeat the previous step until you are happy with the amount of topping on your pizza.
Remember to add the toppings to the edge of the pizza too!
Step 8
As you can see in the picture, we kept our pizza plain and simple. We have some pepperoni and melted cheese on our pizza.
You can customize the toppings and add any toppings to your pizza! If you like onions, peppers or more meat, go ahead!
Step 9
Cheese usually contains bubbles, so add some to the melted cheese on your pizza!
Draw small circles of different sizes all over the surface of your cheese.
Make sure you create lots of bubbles to add texture, only a few.
Now that we have successfully drawn a delicious slice of pizza, it's time for the most exciting part - choosing colors and coloring your drawing! The pizza crust is usually off-white or brown, depending on how good you like your pizza. Conversely, cheese is usually bright yellow, while peppers are pale red with pink detailing. You can colorize your drawing similar to ours or use a unique color set.
We recommend the latter so that you can fully customize your drawing and get the most out of your experience. We are excited to see which colors you will use!
Your Pizza Drawing is Finished!