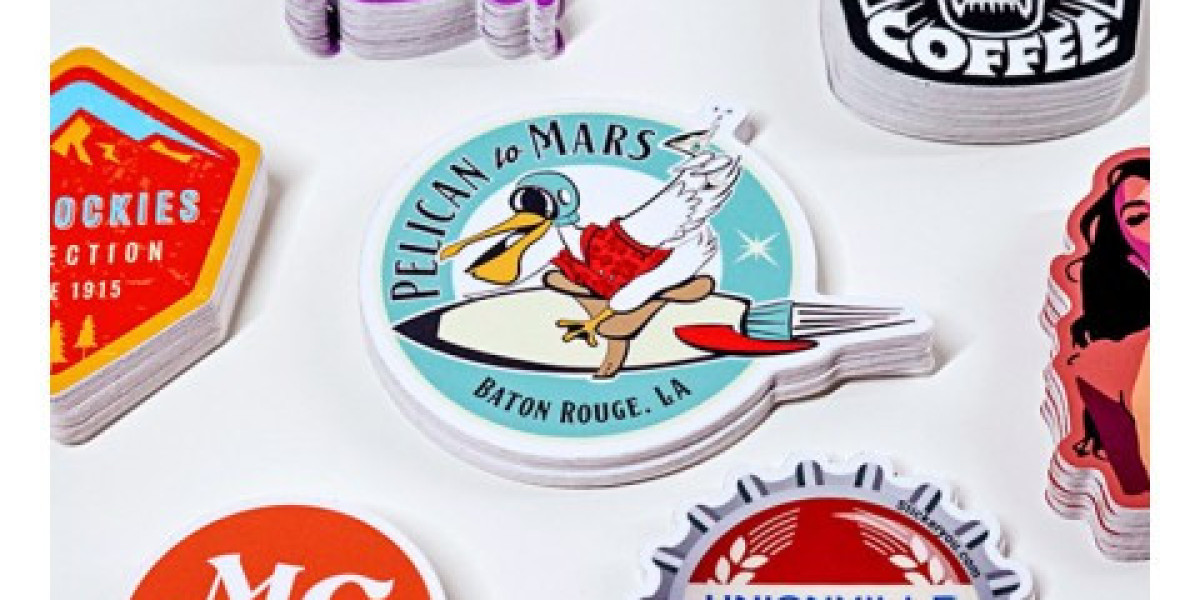
Printing custom stickers is an exciting process that allows you to bring your creative ideas to life. Whether you're designing stickers for personal use, branding purposes, or promotional campaigns, having a step-by-step guide can help streamline the printing process and ensure a successful outcome.
This comprehensive guide will take you through each stage, from conceptualization to the final printed product, providing you with the knowledge and tips you need to turn your sticker printing designs into reality.
Step 1: Define Your Purpose and Target Audience
Before diving into the design process, it's crucial to define the purpose of your custom stickers. Are you creating them for personal expression, branding, marketing, or product labeling? Understanding your purpose will guide your design decisions and help you align your stickers with your desired goals. Additionally, consider your target audience's preferences, interests, and demographics to ensure your stickers resonate with them effectively.
Step 2: Determine Sticker Specifications
Next, determine the specifications of your custom stickers. Consider the following factors:
a. Size: Decide on the appropriate size for your stickers based on their intended application and visibility. Consider factors such as the available surface area, portability, and the desired impact.
b. Shape: Determine whether you want your stickers to have standard shapes (e.g., circles, squares) or unique custom shapes. Die-cut stickers allow for limitless design possibilities and can make your stickers more visually appealing and memorable.
c. Material: Choose the right material for your stickers based on their intended use and durability requirements. Common options include paper, vinyl, and clear materials. Paper stickers are cost-effective but less durable, while vinyl stickers are weather-resistant and suitable for both indoor and outdoor use.
Step 3: Designing Your Stickers
Now comes the creative part—designing your custom stickers. Follow these steps to create eye-catching designs:
a. Sketch Ideas: Begin by sketching out your ideas on paper. Brainstorm different concepts, layouts, and typography options. Explore various design elements such as colors, fonts, graphics, and images that align with your purpose and target audience.
b. Choose Design Software: Transfer your sketches to design software such as Adobe Illustrator, Photoshop, or other graphic design tools. These software programs provide the necessary tools and flexibility to bring your ideas to life digitally.
c. Design Elements: Incorporate your branding elements such as logos, taglines, and color schemes. Ensure the design is visually appealing, easy to read, and aligned with your brand identity. Experiment with different color combinations, fonts, and graphics to create a visually striking design.
d. High-Resolution Artwork: Create your sticker design using high-resolution images and vector graphics to ensure clarity and sharpness when printed. Keep in mind the printing specifications provided by your chosen printing service.
e. Mockup and Proofing: Once your design is ready, create a mockup to visualize how the sticker will appear in its final form. Review the mockup carefully, checking for any design errors, alignment issues, or misspelled text. Request feedback from peers or colleagues to gain additional perspectives.
Step 4: Choose a Printing Service
Selecting a reliable printing service is crucial for achieving high-quality results. Consider the following factors when choosing a printing service:
a. Reputation: Research and read reviews about different printing services. Look for testimonials and examples of their previous work to assess their reputation and quality.
b. Printing Options: Ensure the printing service offers the specific sticker materials, printing methods (digital, offset, screen printing), and finishing options (matte, gloss, UV coating) that align with your requirements.
c. Pricing and Turnaround Time: Request quotes from multiple printing services and compare their pricing structures. Consider the costs per unit, setup fees, finishing options, and shipping fees. Also, inquire about their turnaround timeto ensure they can deliver your stickers within your desired timeframe.
d. Sample and Proofing: Request samples of their printed stickers to assess the quality of their work. Additionally, ask for a proof of your design before final production to ensure that the colors, alignment, and overall appearance meet your expectations.
Step 5: Prepare and Submit Your Artwork
Before submitting your artwork to the printing service, make sure it meets the necessary requirements for printing. Take the following steps:
a. File Format: Save your design in a high-resolution, print-ready file format such as PDF, AI, or EPS. These formats preserve the integrity of your artwork and allow for easy scaling or adjustments if needed.
b. Bleed and Trim: Extend your design beyond the sticker's final trim size to create a bleed area. This ensures that there are no white borders or gaps when the stickers are cut to their final size.
c. Color Mode: Convert your artwork to the CMYK color mode, which is the standard color mode for printing. This ensures accurate color reproduction.
d. Proofreading: Proofread your design one final time to check for any spelling or grammatical errors. Pay attention to the placement of text, images, and any other design elements to ensure they are correctly positioned.
Step 6: Review and Approve the Proof
After submitting your artwork, the printing service will provide you with a digital or physical proof of your sticker design. Carefully review the proof, paying attention to details such as colors, alignment, and overall appearance. Check for any errors or discrepancies and compare it with your original design. Make sure you are satisfied with the proof before giving your approval to proceed with printing.
Step 7: Printing and Production
Once you've approved the proof, the printing service will proceed with the production of your custom stickers. They will use the printing method and materials you specified during the selection process. The stickers will be printed, cut to size (if not already die-cut), and finished according to your specifications. The printing service will notify you of the estimated completion date and any shipping arrangements.
Step 8: Application and Distribution
Once you receive the printed stickers, it's time to apply and distribute them. Consider the following:
a. Surface Preparation: Ensure the surface where you plan to apply the stickers is clean, dry, and free of dust, oil, or any other contaminants. This will ensure proper adhesion and longevity.
b. Application Technique: Carefully peel off the backing of the sticker and align it with the desired location. Start applying it from one side, gradually smoothing it down to avoid air bubbles or wrinkles. Use a credit card or a similar tool to ensure proper adhesion and remove any trapped air bubbles.
c. Distribution Channels: Determine the appropriate channels to distribute your custom stickers. Consider including them in product packaging, giving them away at events or trade shows, or sending them as part of direct mail campaigns. Additionally, encourage customers to share their sticker experiences on social media platforms, extending your brand's reach.
Conclusion:
Printing stickers uk requires careful planning, thoughtful design, and collaboration with a reliable printing service. By following this step-by-step guide, you can ensure that your sticker designs become a reality. From defining your purpose and target audience to selecting the right printing service, preparing and submitting your artwork, and finally distributing the printed stickers, each stage plays a crucial role in the success of your custom sticker printing project. Embrace the creative process, pay attention to detail, and enjoy the journey of turning your sticker concepts into tangible and impactful marketing tools.


